I am a bit obsessive when it comes to the quality of images I produce. I have two preferences when it comes to an image:
- I always try to use vector images(SVG)
- If I can’t use a vector, I use a 4k resolution (PNG)
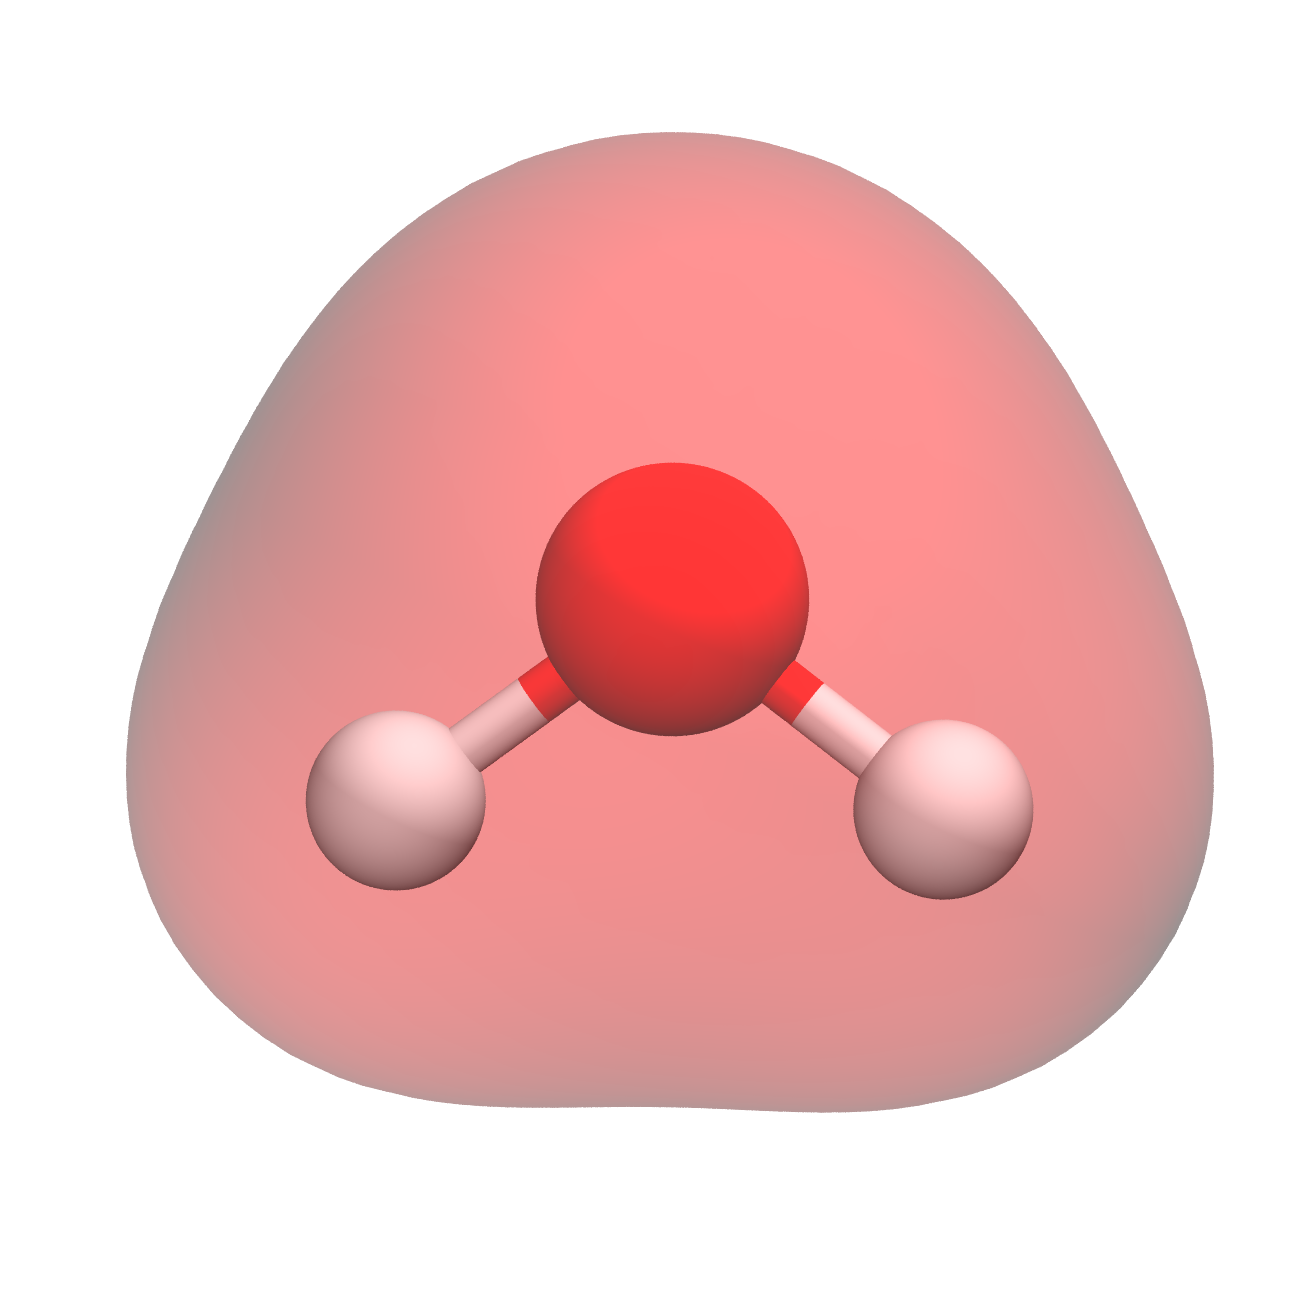
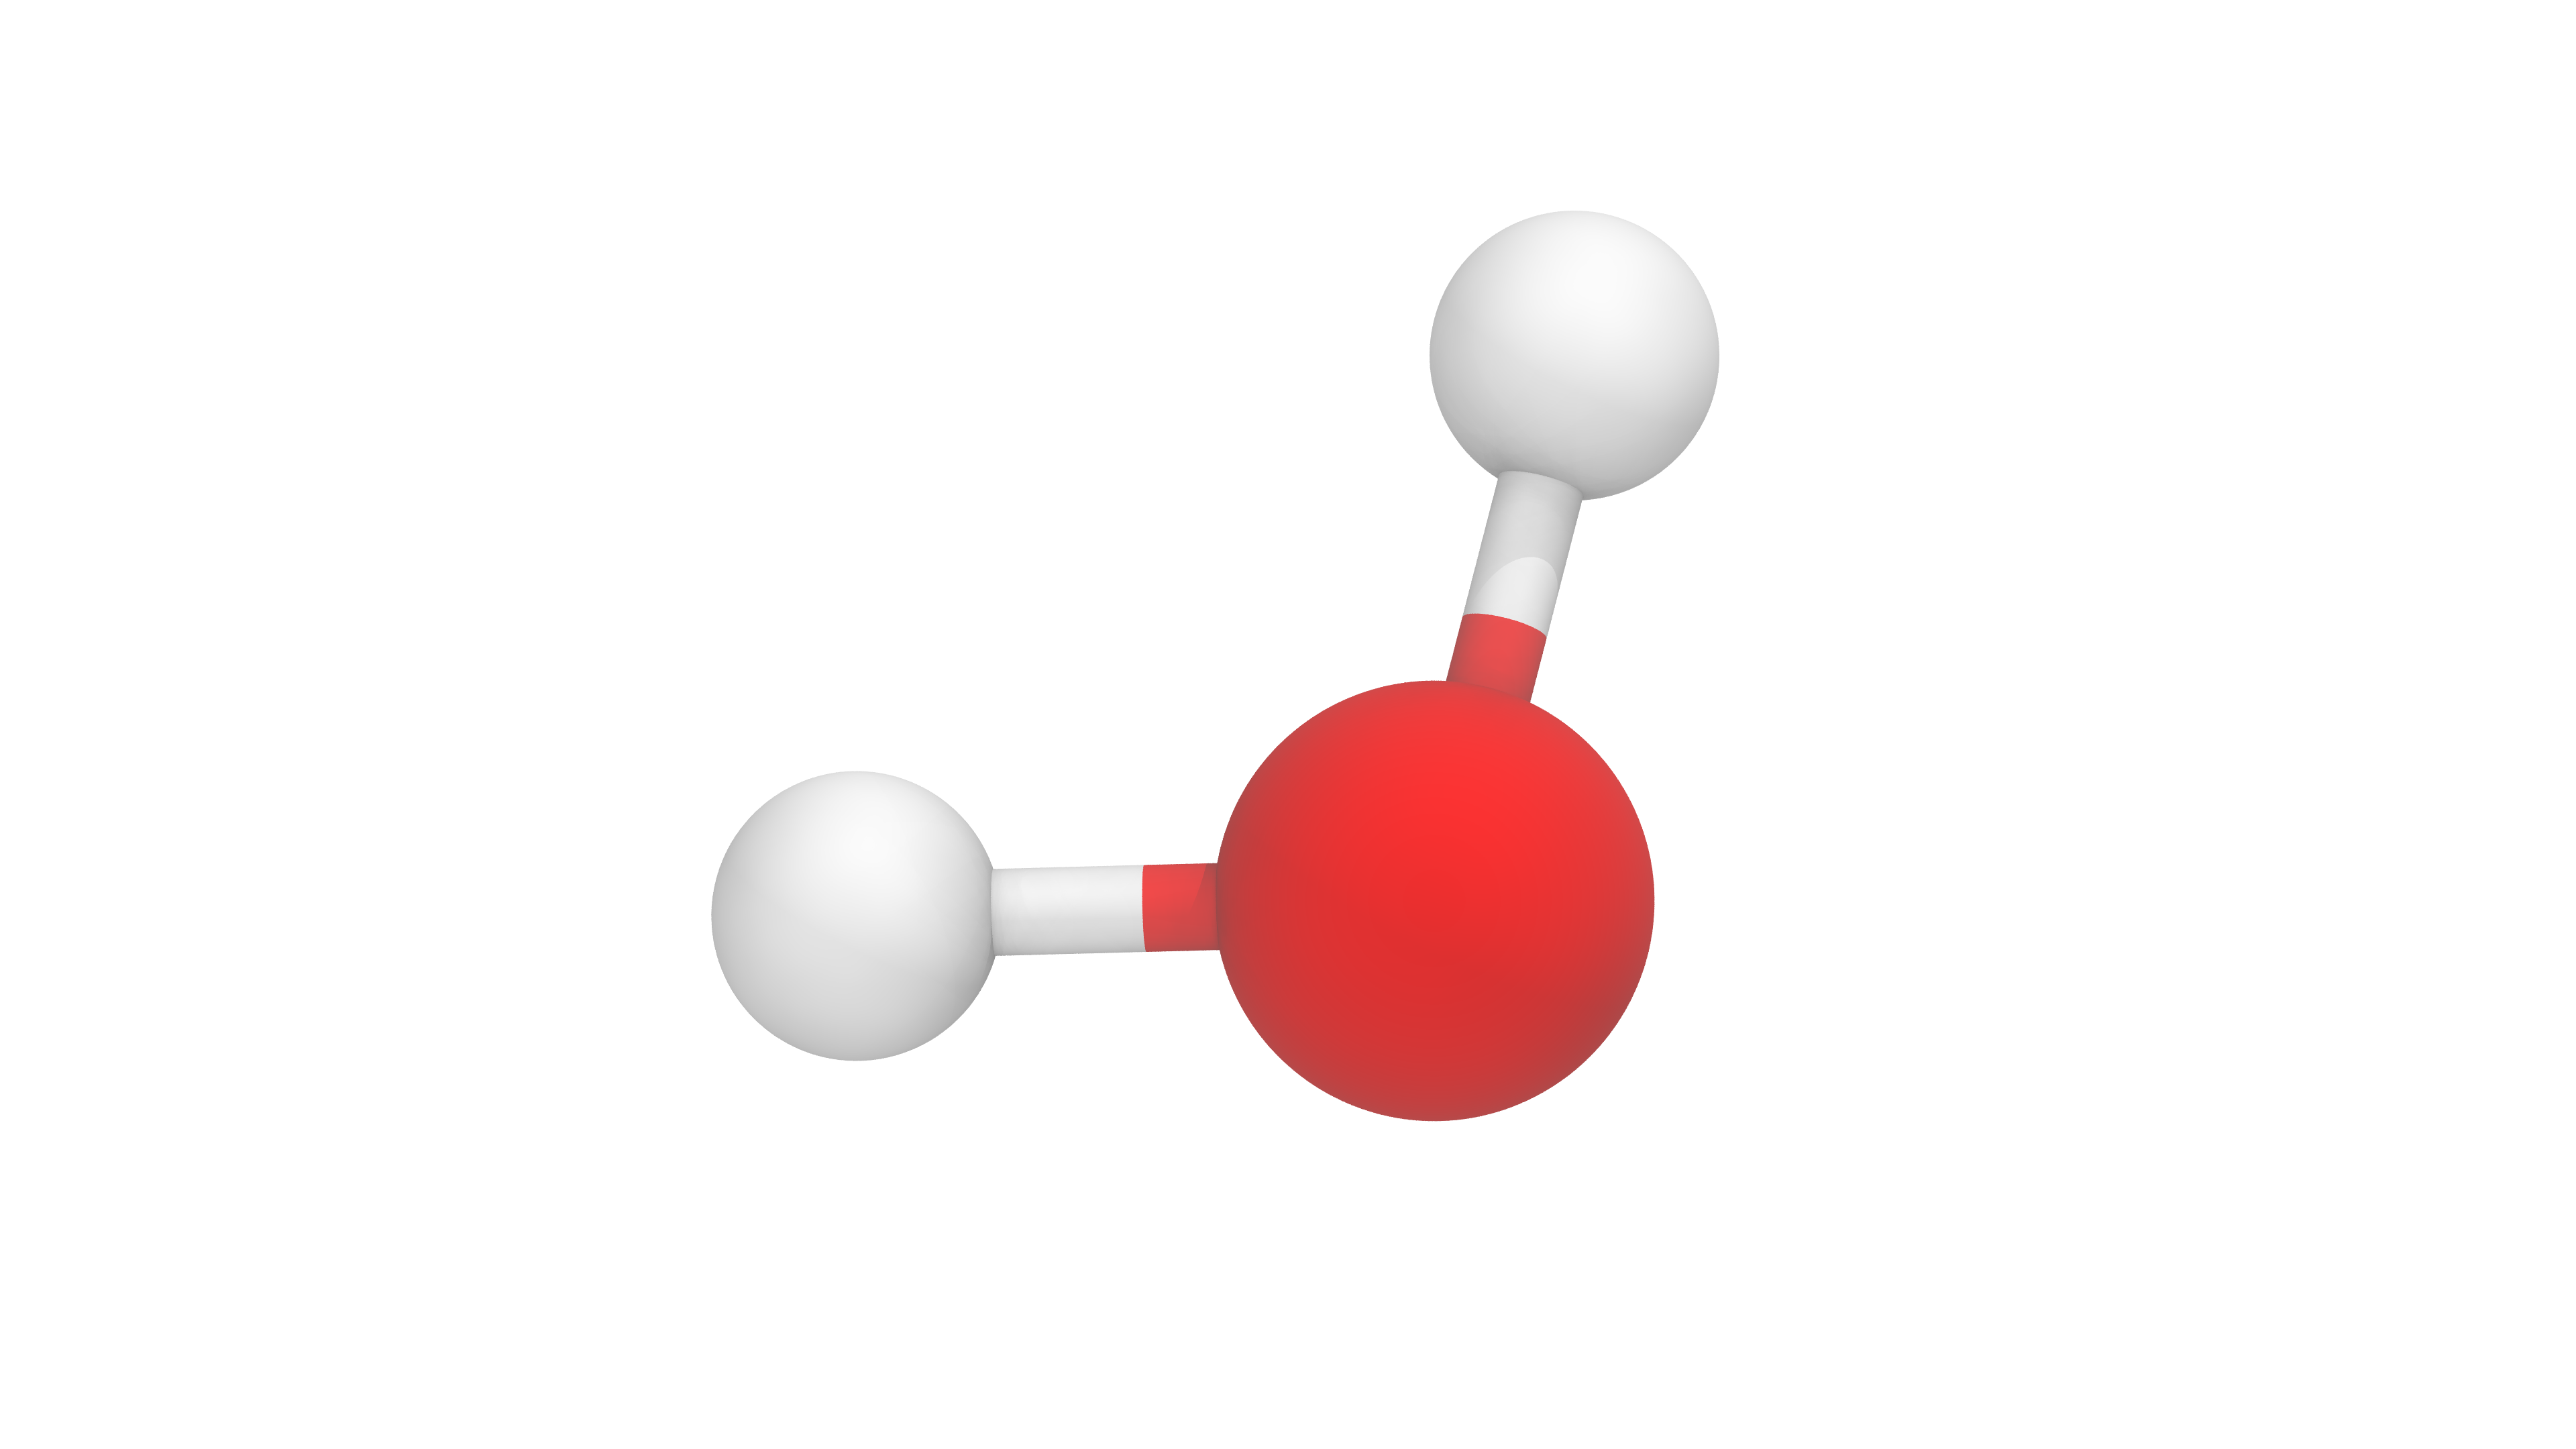
Rendering an image from VMD falls into the second category, but without setting it up correctly just rendering at 4k doesn’t look very great. Proper rendering in VMD requires the use of a ray tracing engine. Ray tracing is essentially a method that simulates the path of light in a scene and the interactions of these paths with the materials in the scene. I’ll provide an example here of rendering a water molecule.
Steps:
- Load a PDB and set the axes off and the background to white

- Choose the orthographic view

- Navigate to the “Display Settings” options

- Turn “Shadows” and “Ambient Occlusion” on

- Navigate to the “Materials” options

- Duplicate a material so you can modify the settings. Here I duplicated and modified the “AOChalky” material

- Navigate to the “Render” options

- Select the tachyon ray tracing option

- Resize the display window using the console because you can make it bigger than the size of your screen this way. This may cause the view window to go blank. Don’t panic that’s fine. Render using the tachyon setting. This may take some time.

- Save the visualization state for future renders

You can see the fruits of the render below. This took about ten minutes start to finish but resulted in a fairly polished product. If I were actually using this render for anything serious I would fix the “washed out” look that it currently has.
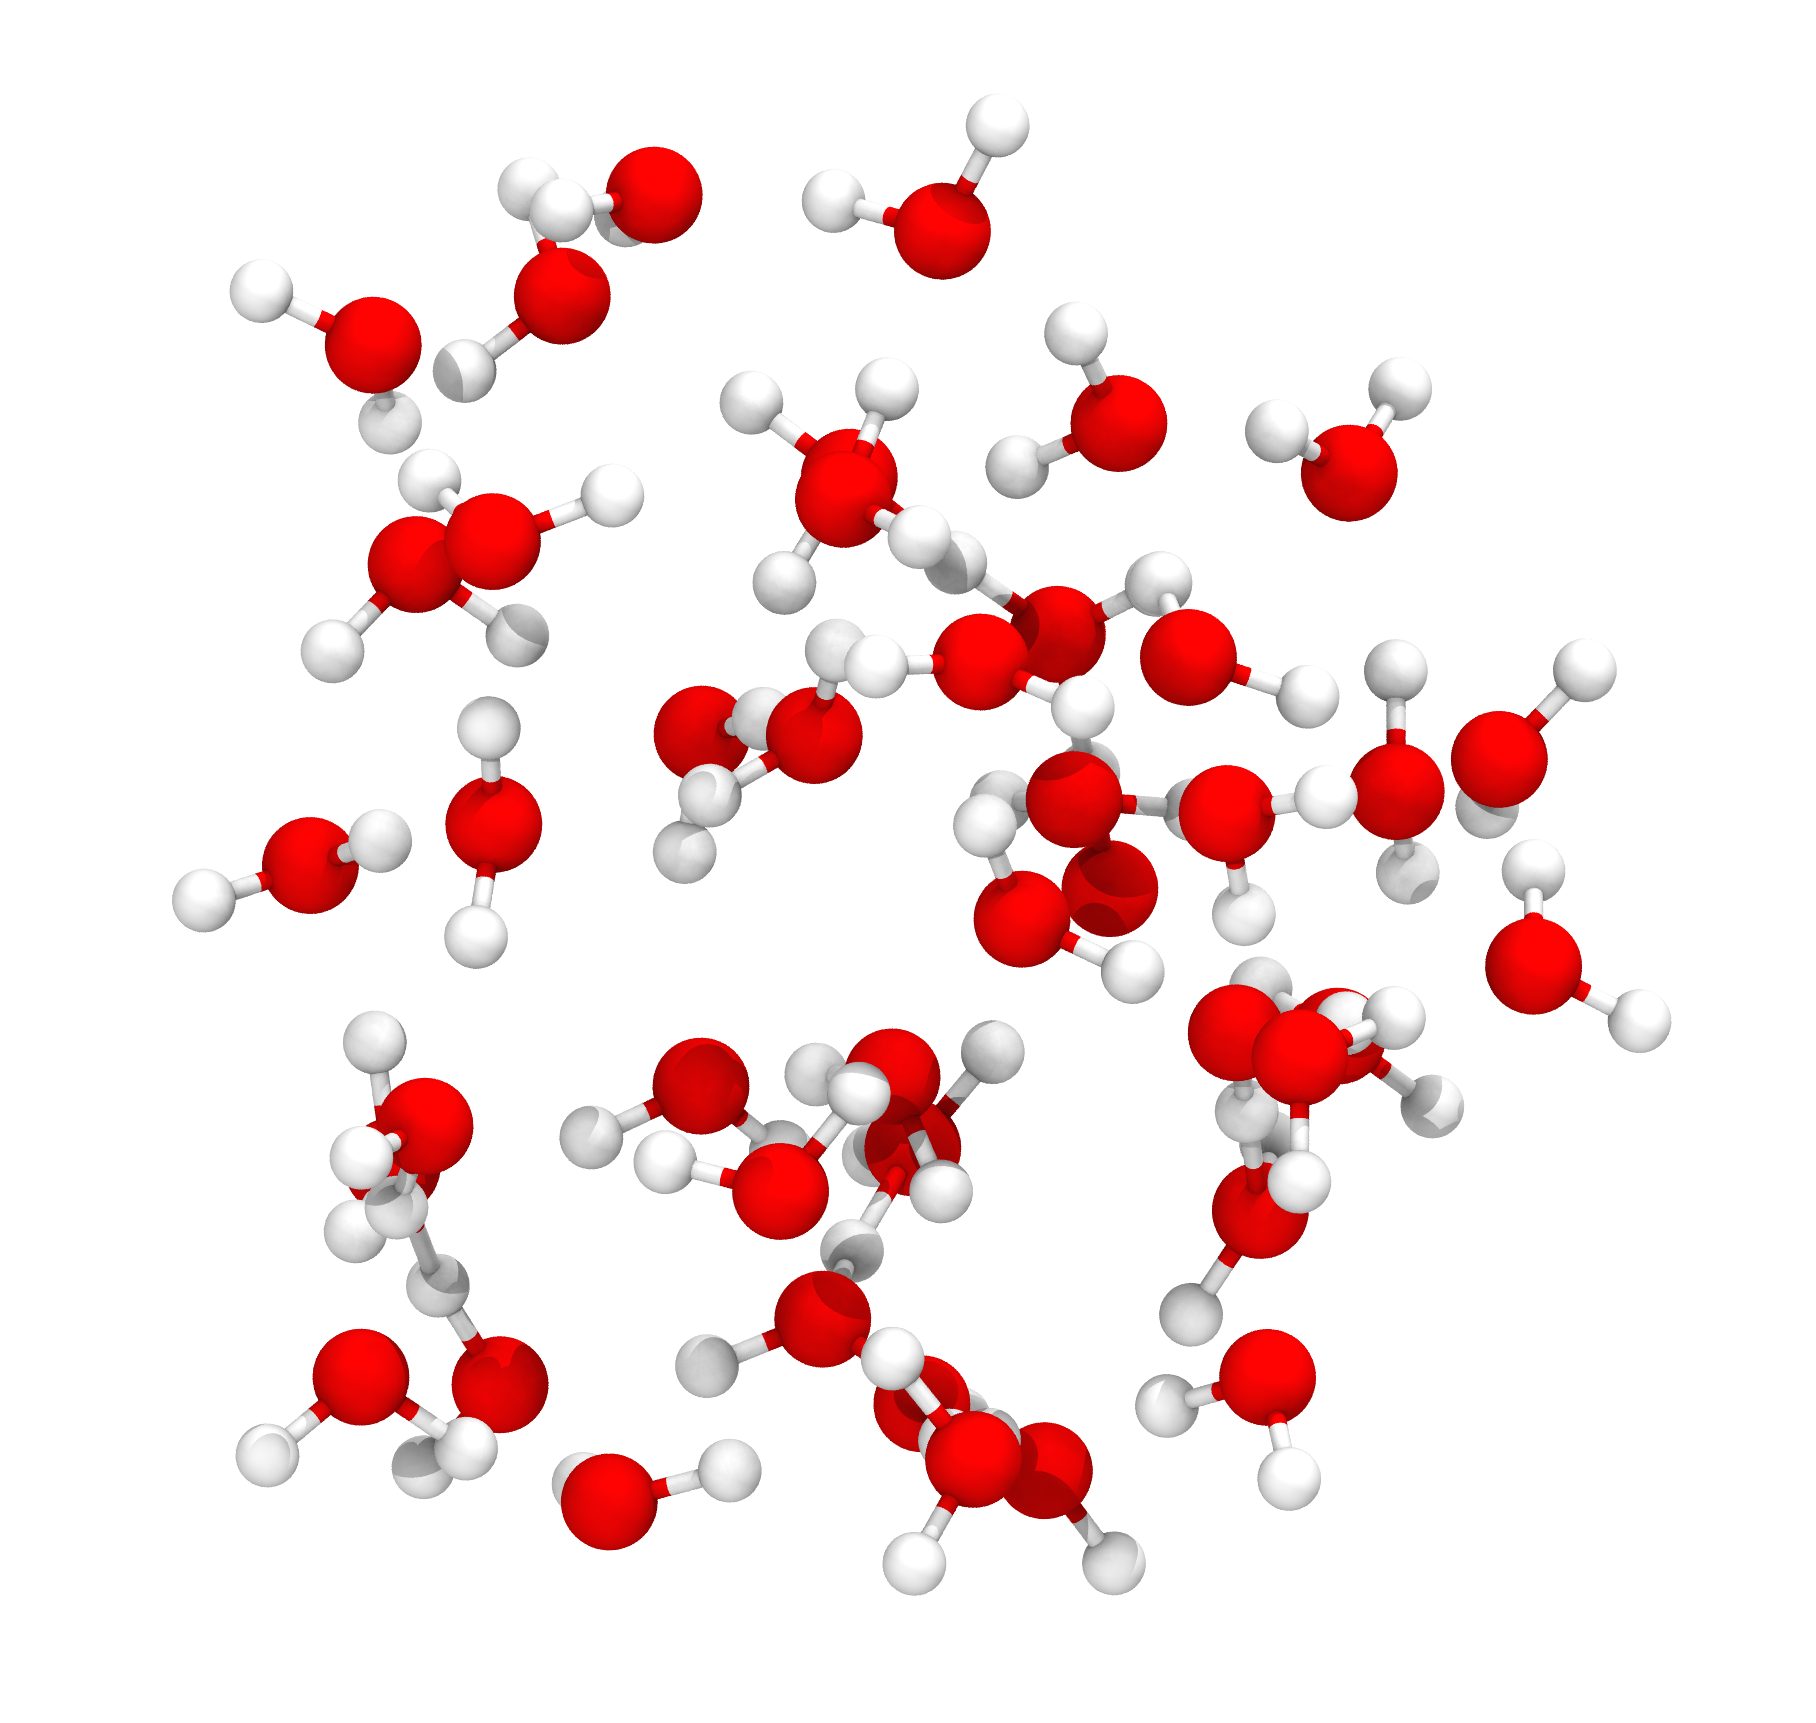
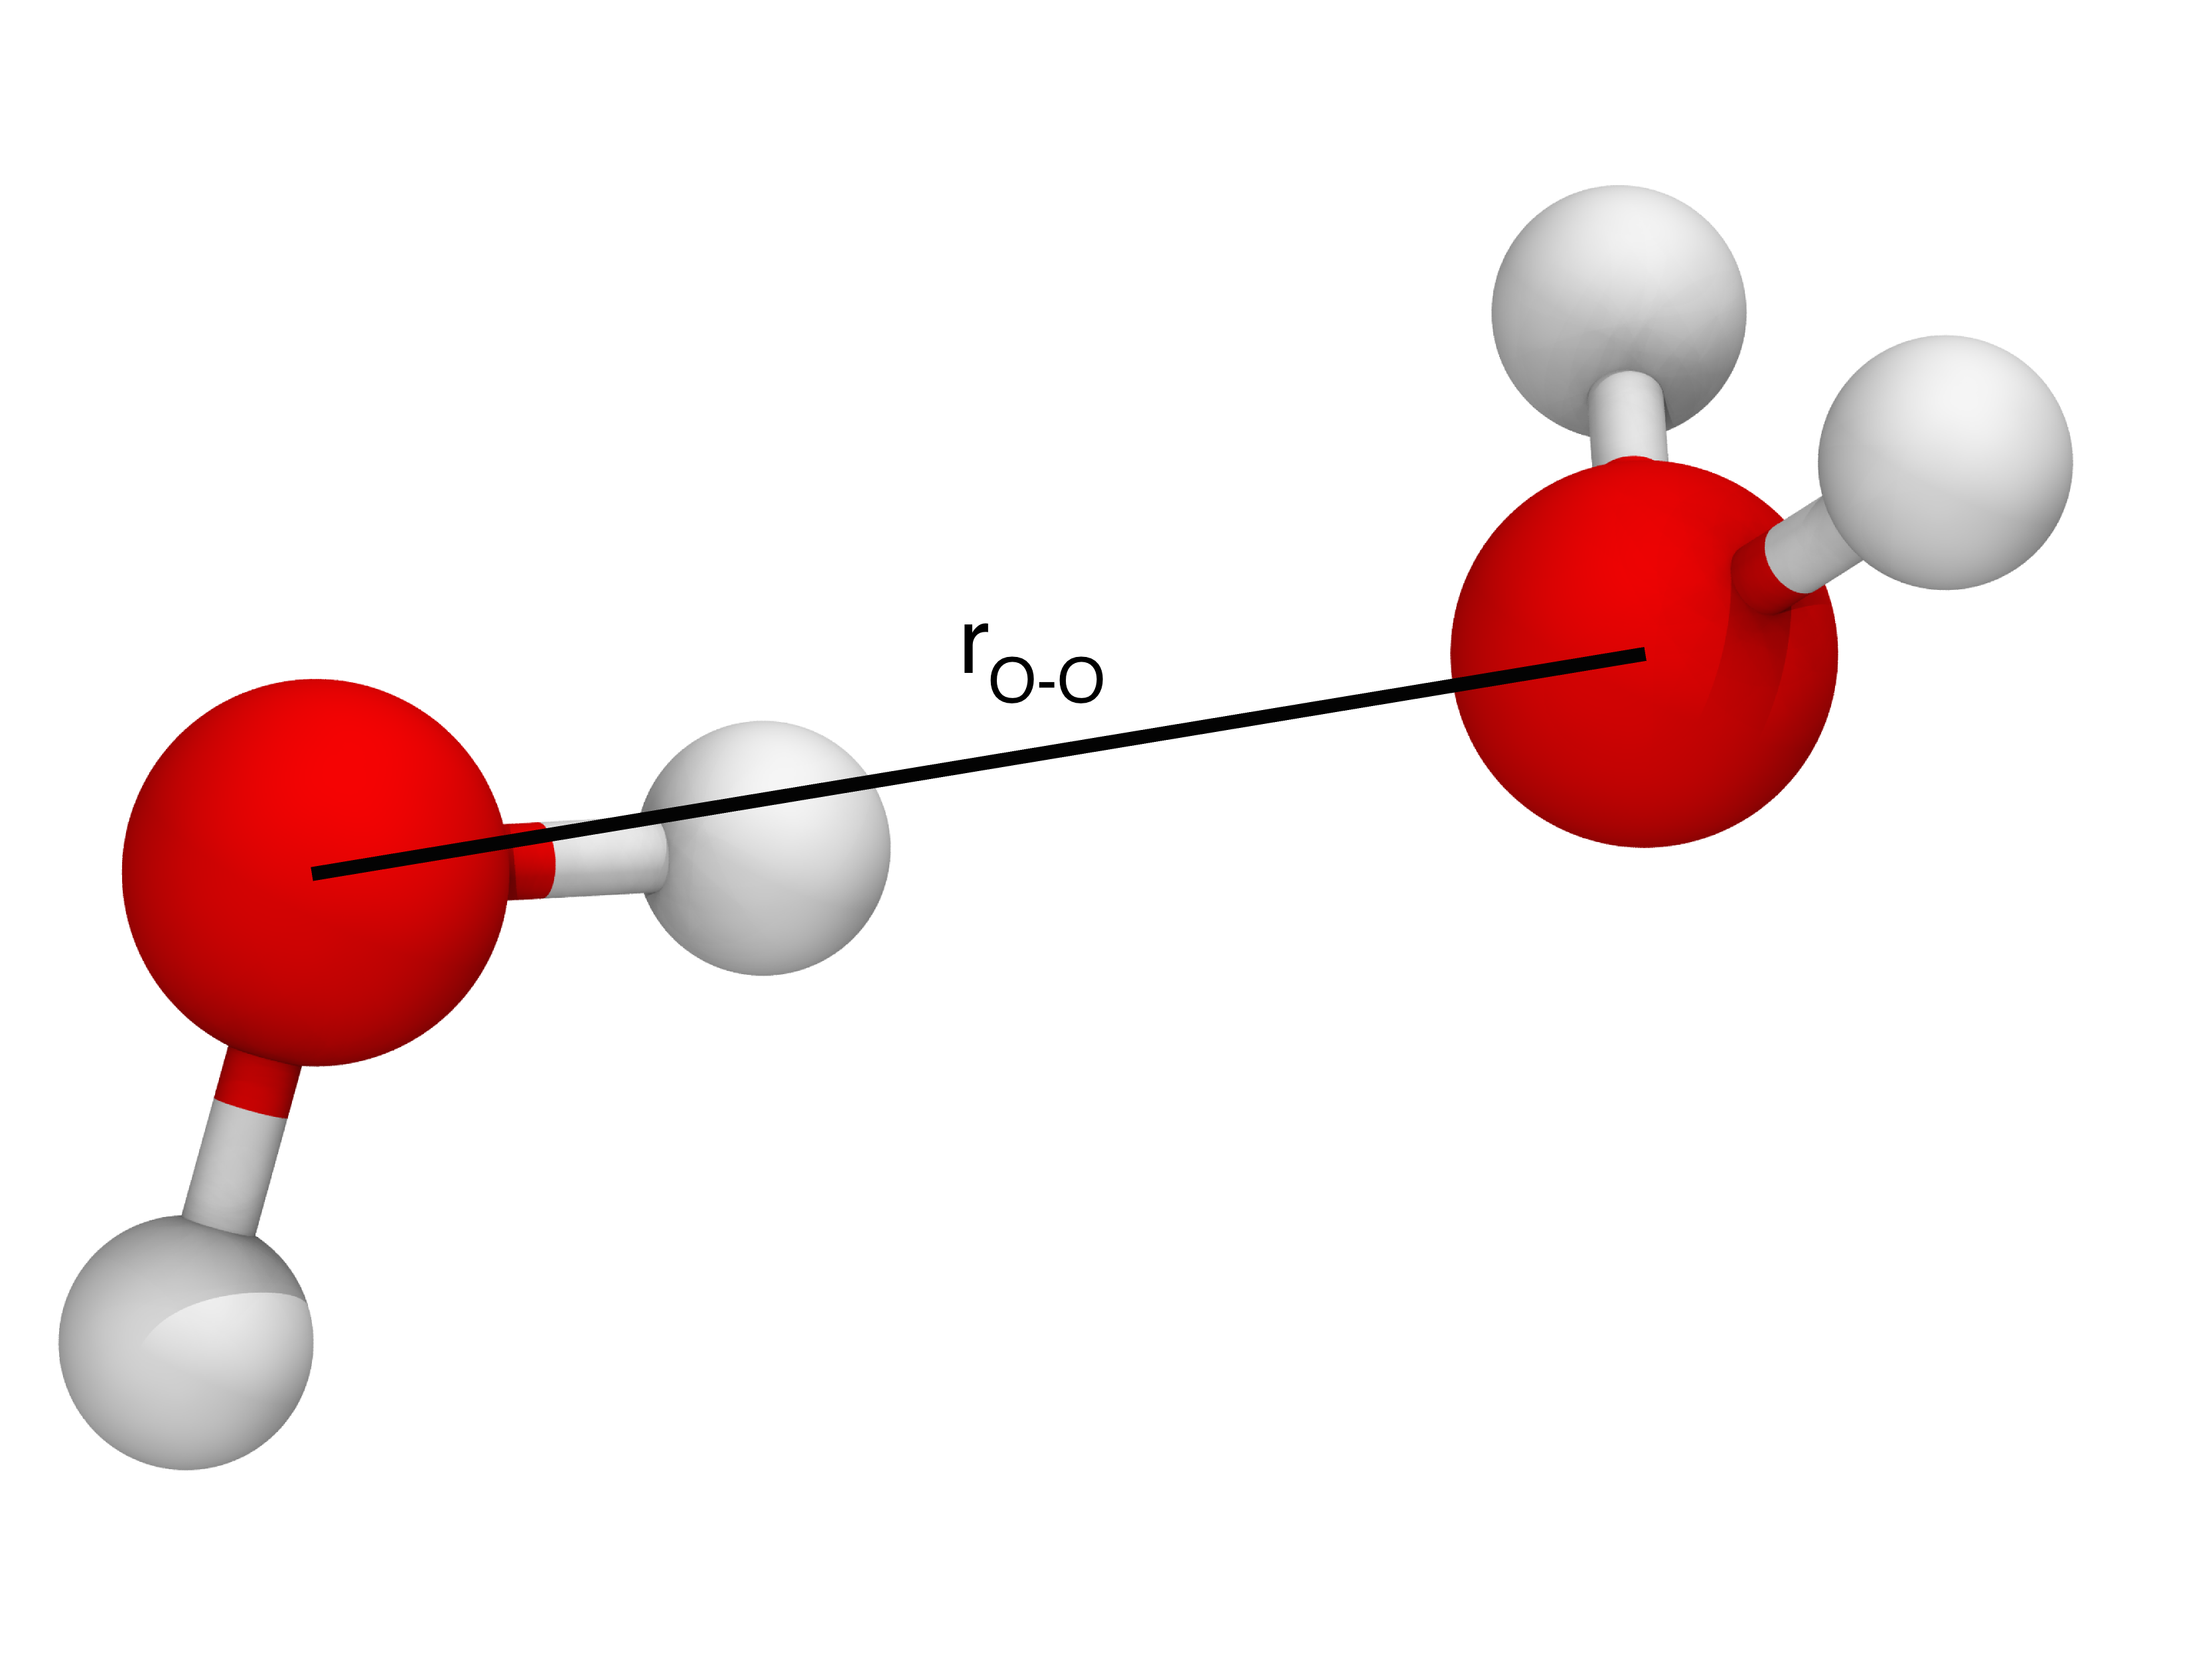
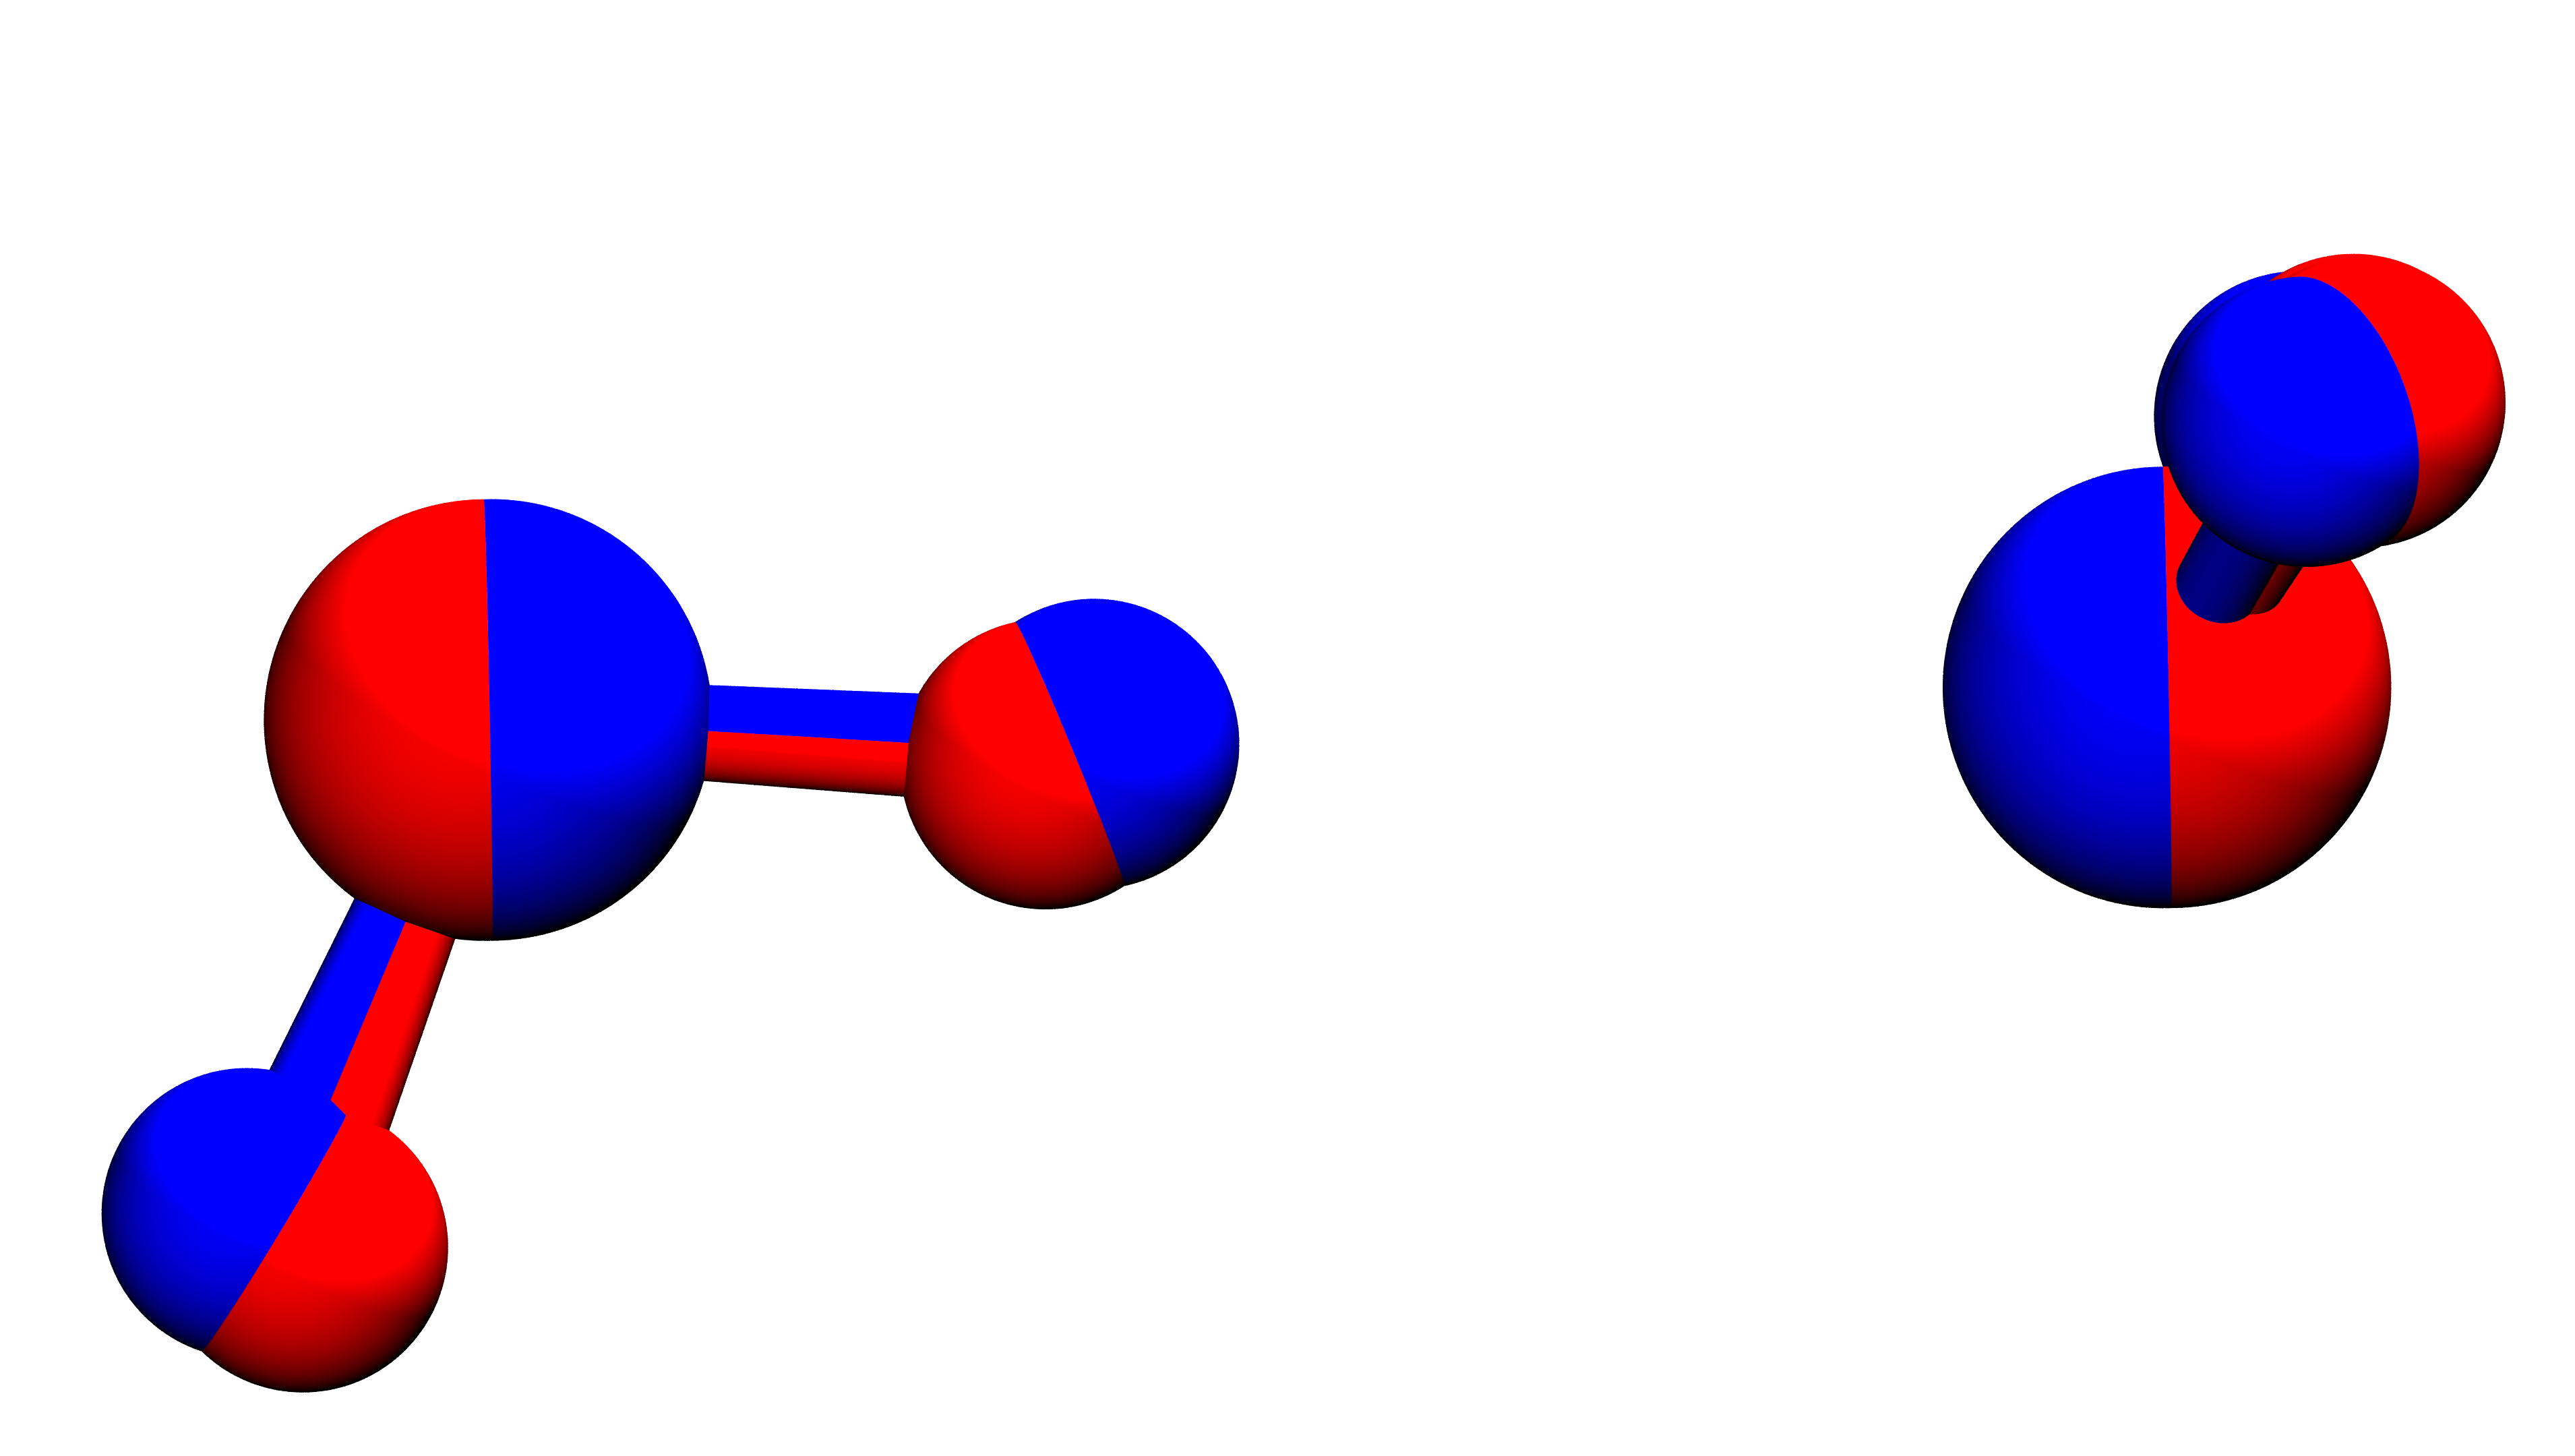
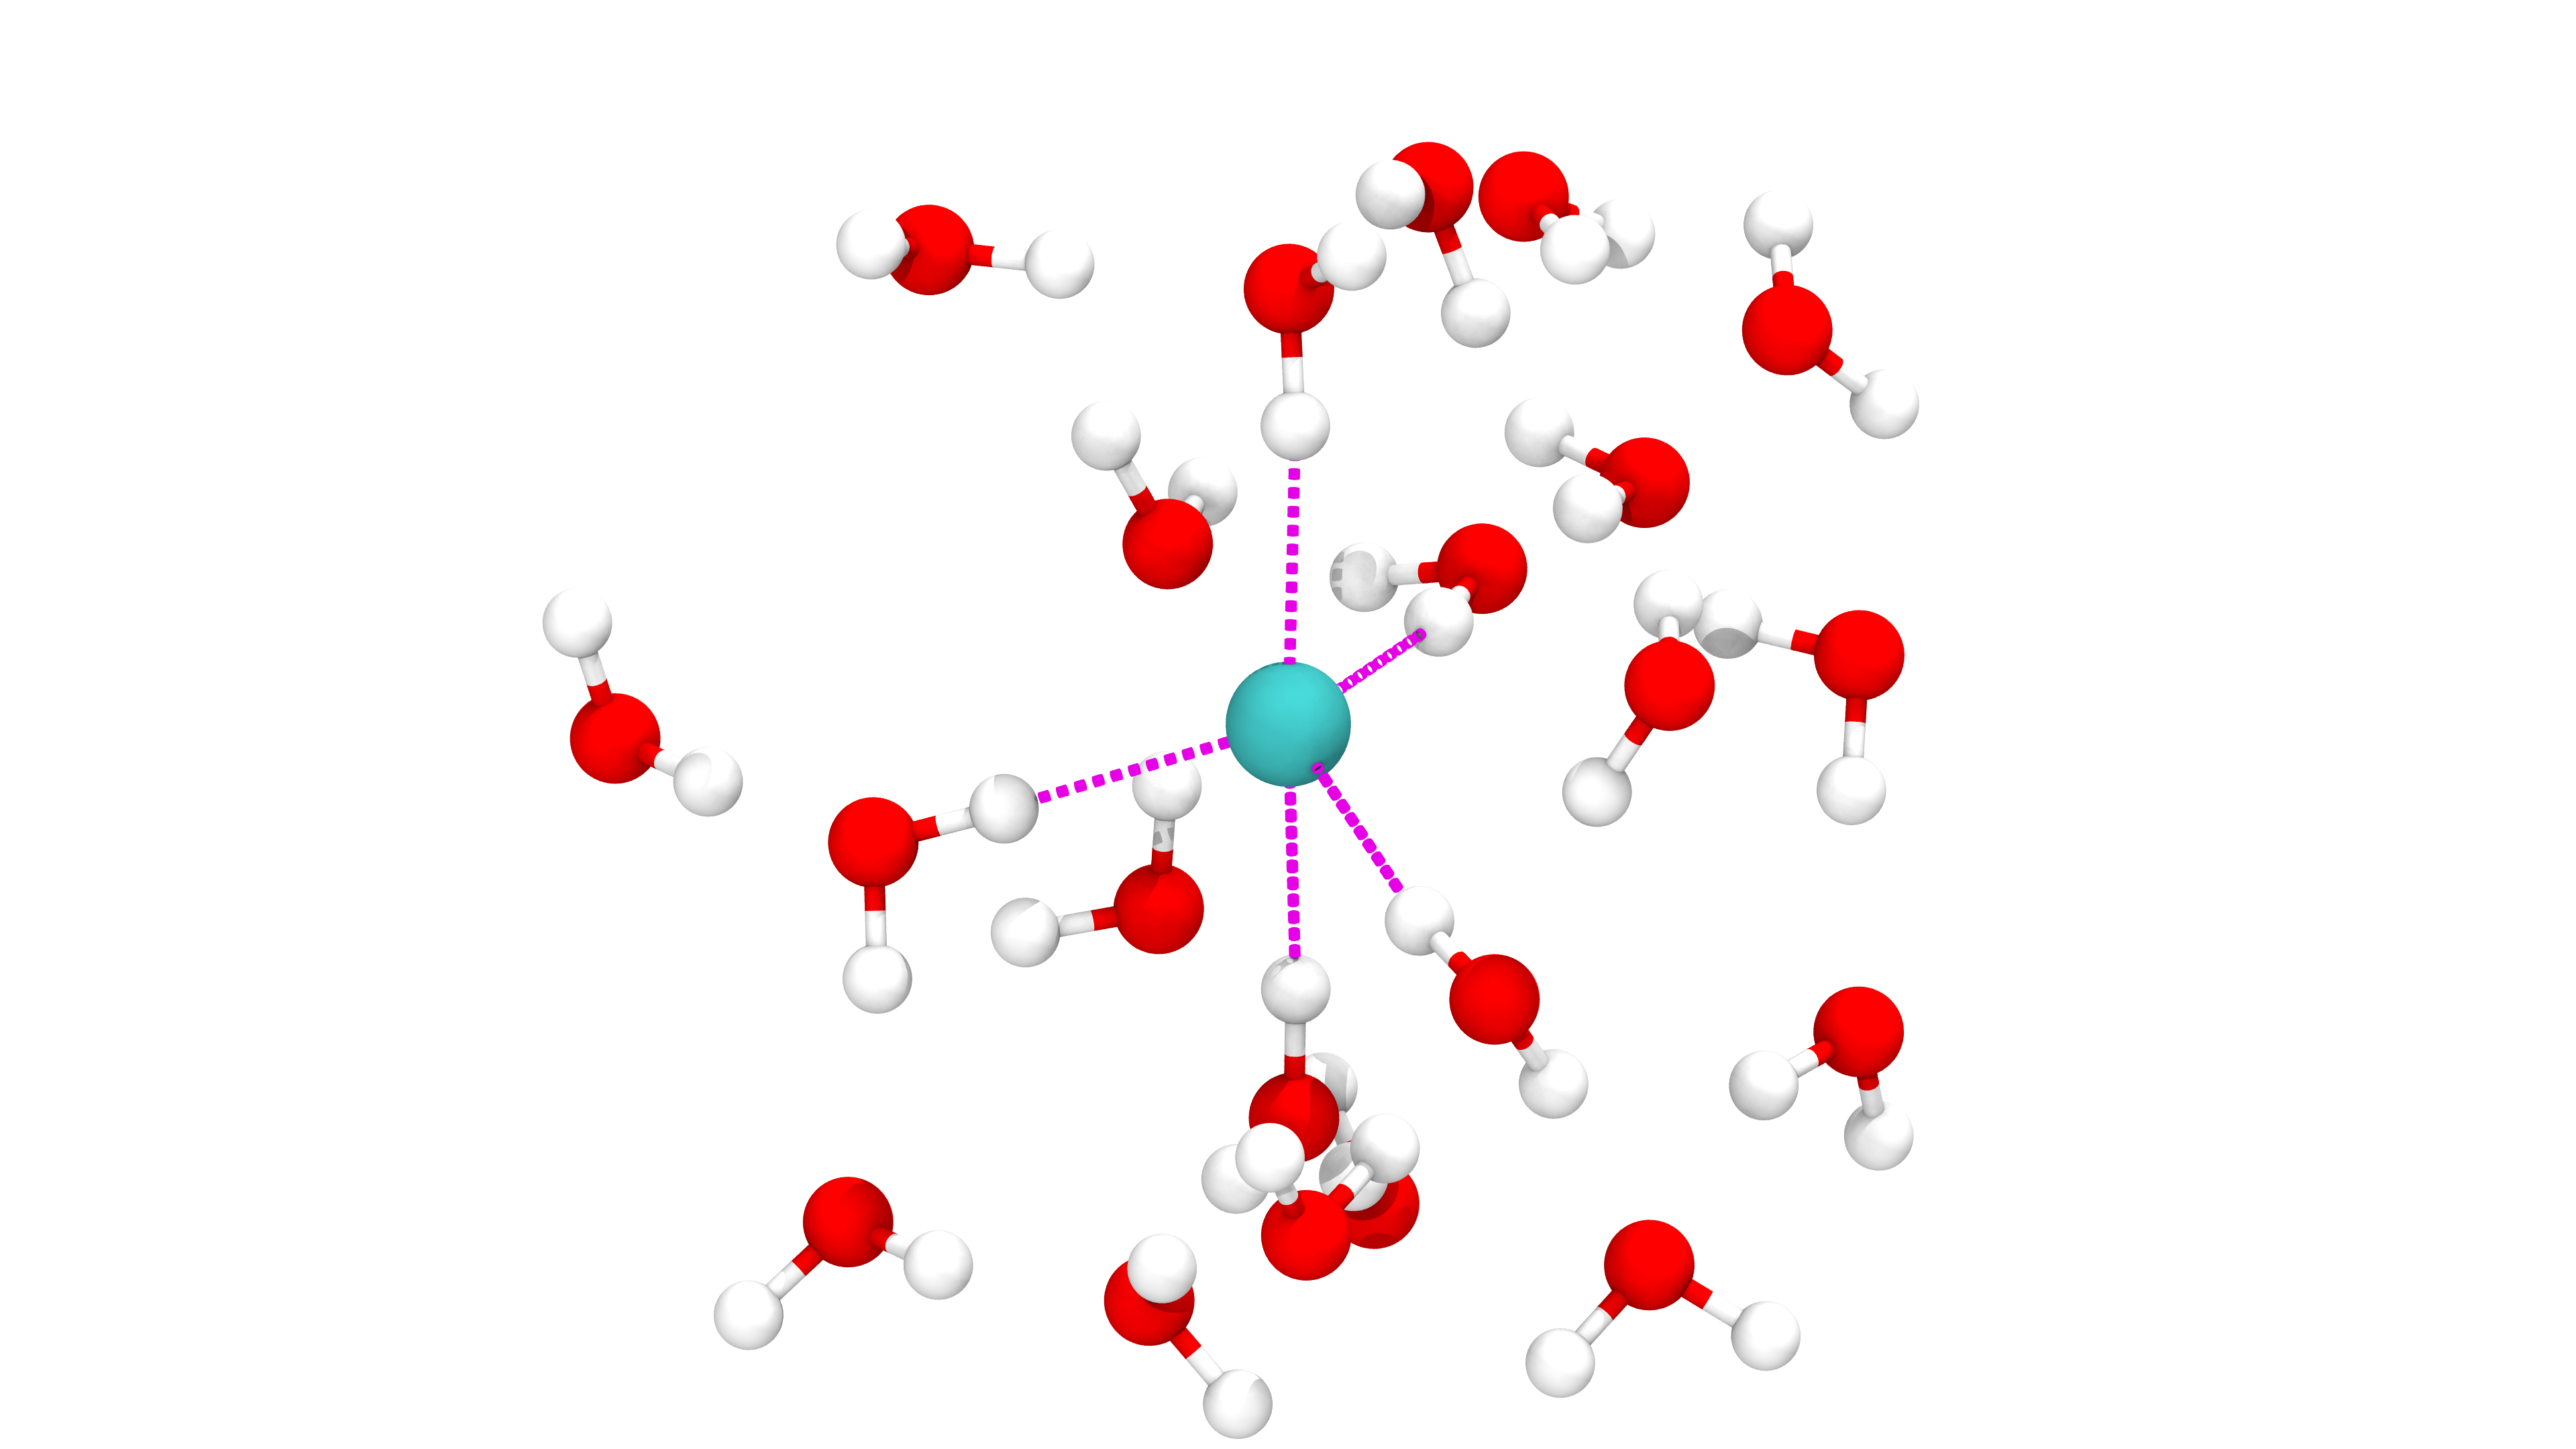
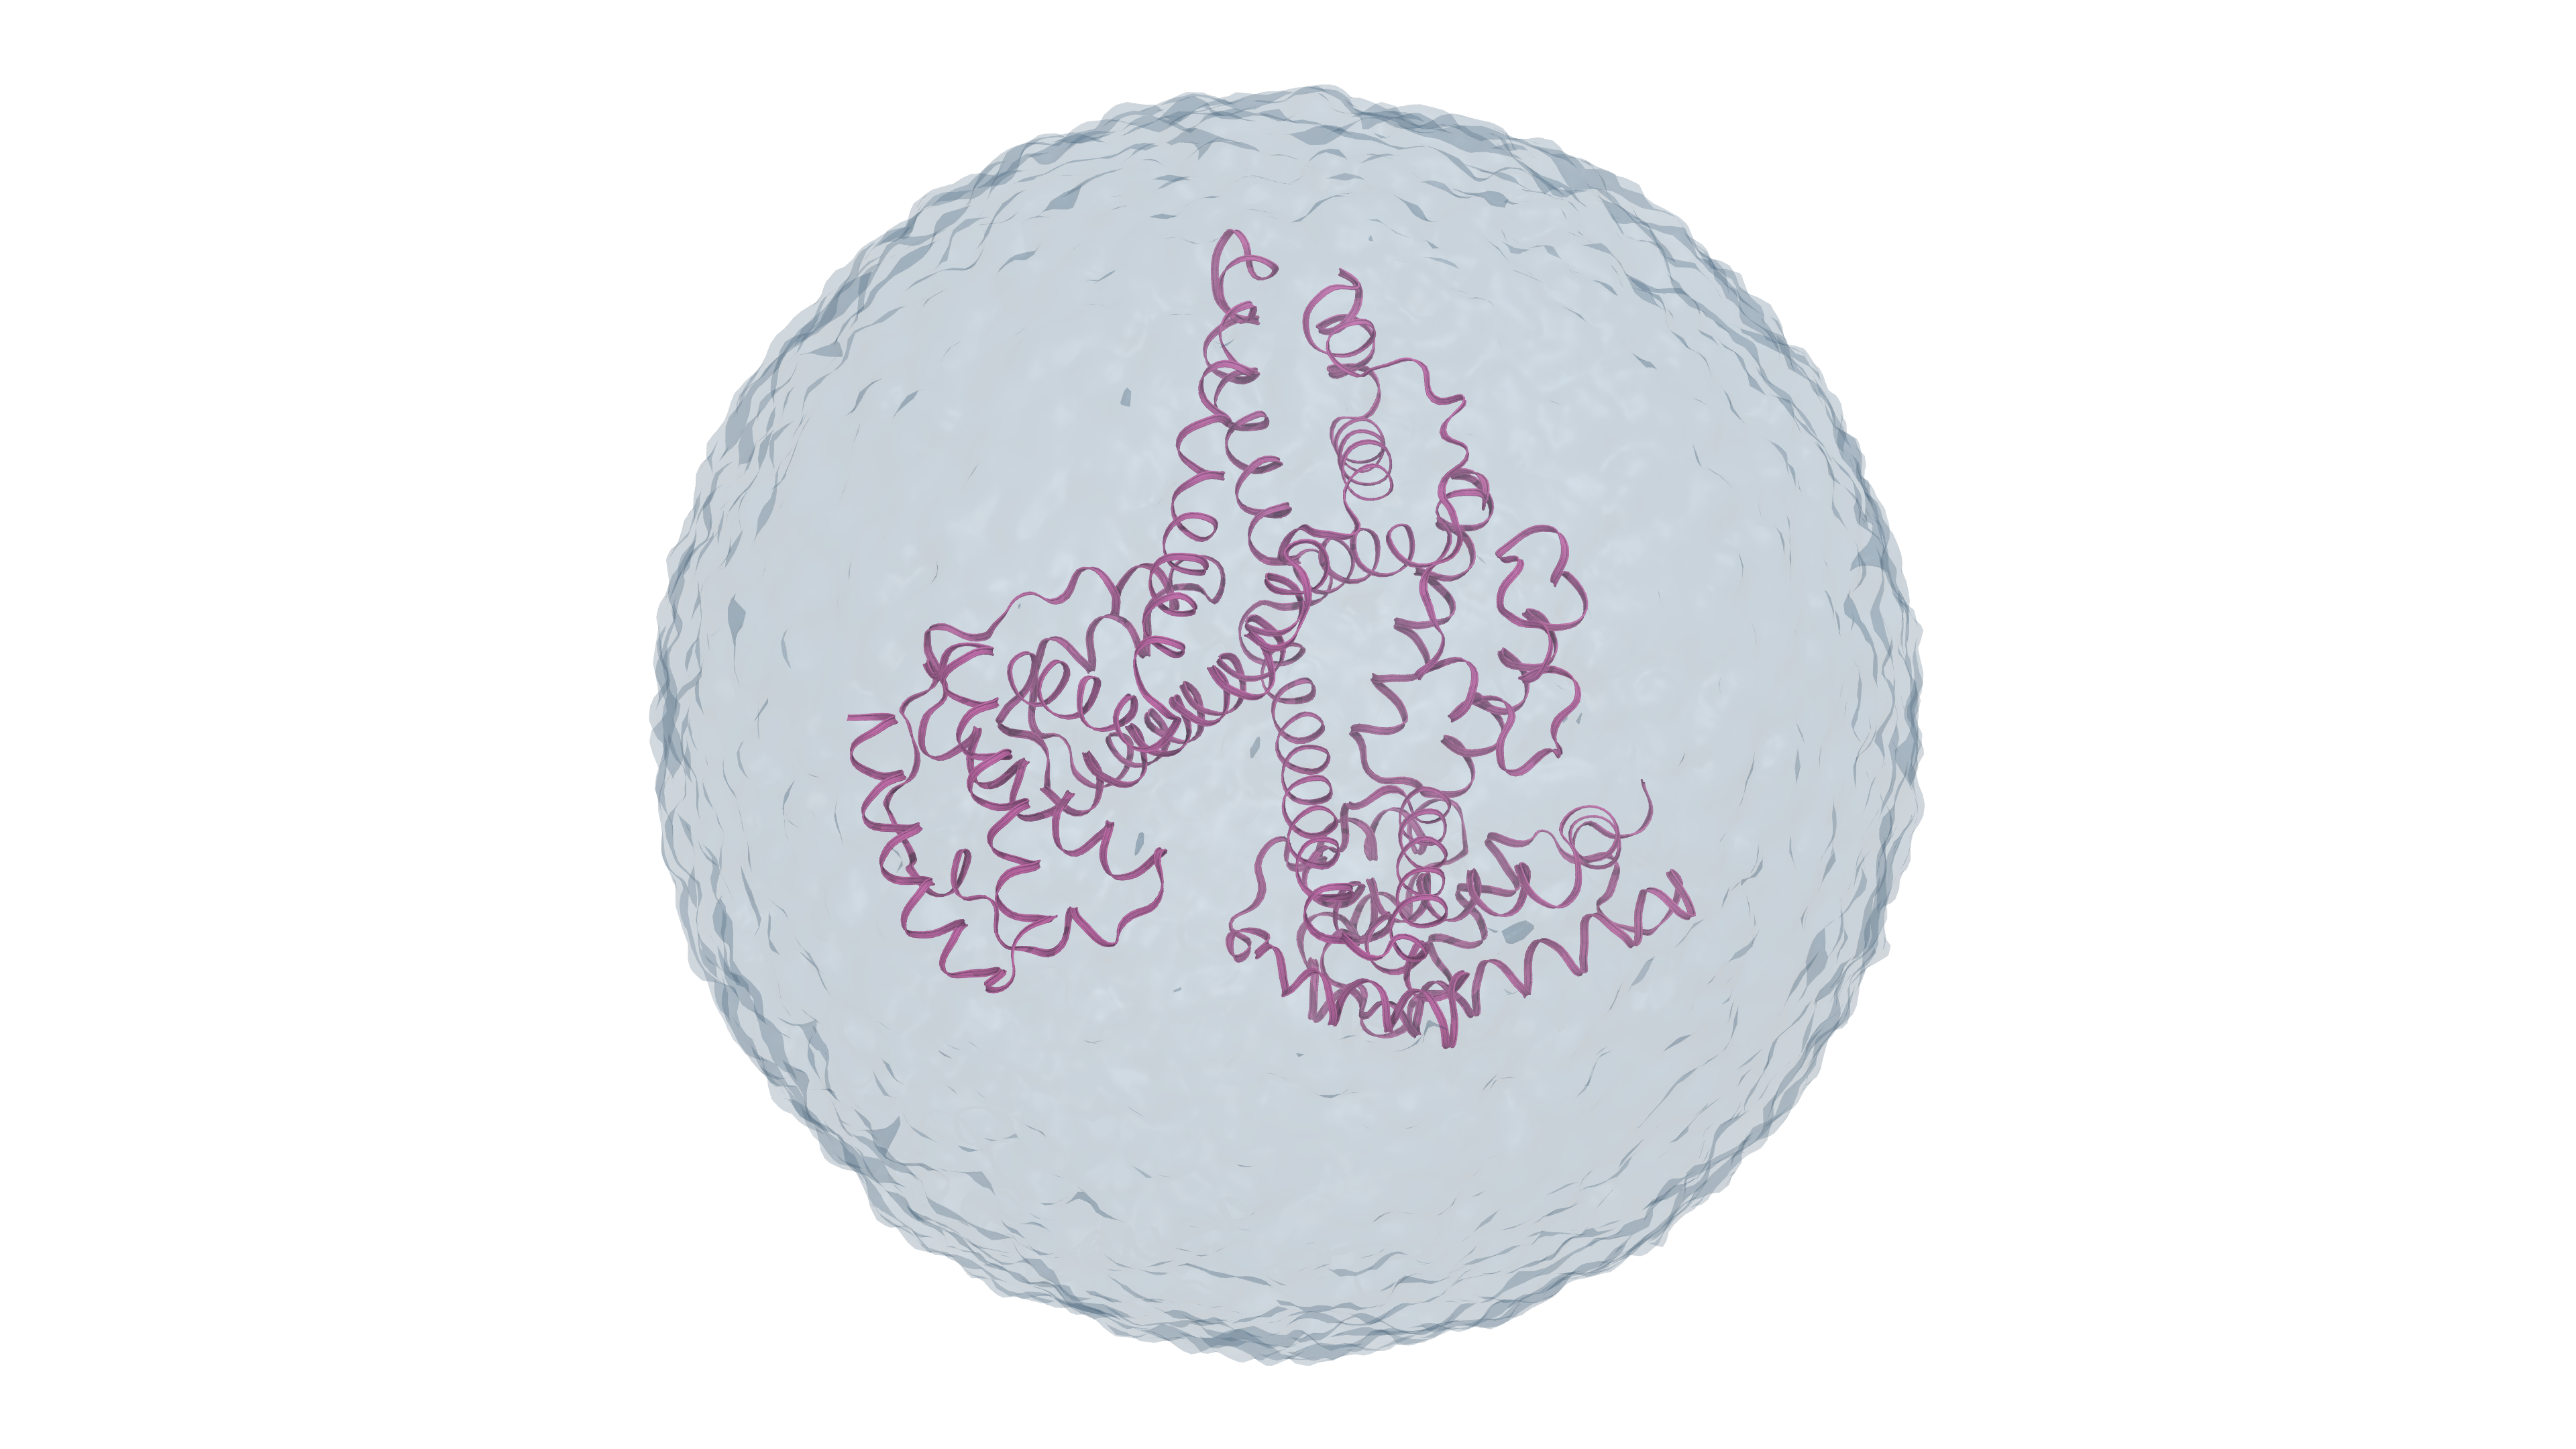
Here are a few of my better renders:
